Showing posts with label MFT Radiating Rays Stencil. Show all posts

Friday, 9 November 2018

Treat Yourself


Hello, Gemma here today. I’m back for my second post this week, so thought I’d share a non-Christmas card for a change. This card ended up quite summery looking, probably due to my colour choices, but it’s sure to brighten up someone’s day.


I got the Lawn Fawn Treat Yourself stamp set a while back, but have only just got around to using it on a card. I stamped the images onto white card and coloured with my alcohol markers, then cut the images out.

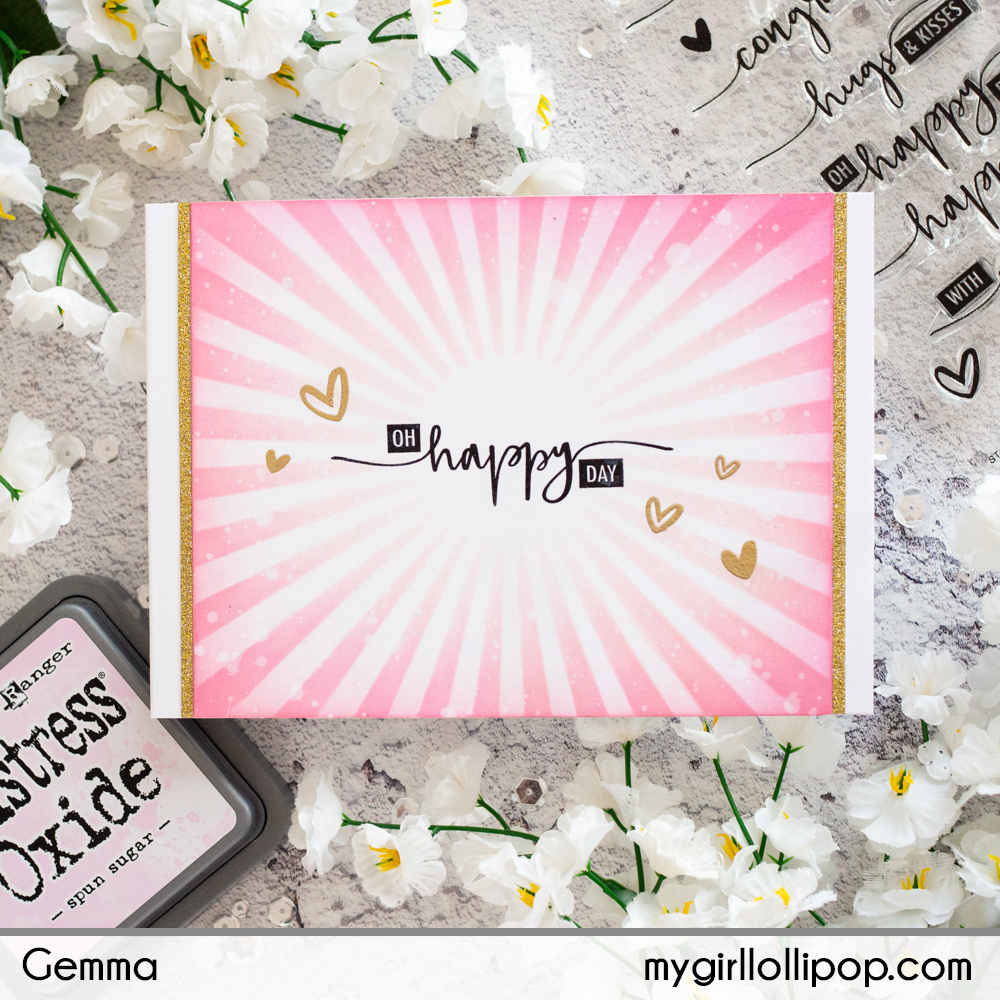
On my card base, I used the MFT Radiating Rays stencil. The MFT Sunrise Radiating Rays stencil would work very well too. I inked this over my card base with Squeezed Lemonade distress oxide ink. I then removed the stencil and added some more ink to the card base, as this softens the rays and helps blend them a little better, I feel.


I stamped the sentiment from the Lawn Fawn Treat Yourself set at the bottom of the card, then added the images above. I used foam tape for the ice cream tub and spoon, to give this mostly one layer card some more dimension.


Have a lovely day,
Gemma


Tuesday, 16 October 2018

Oh Happy Day


Happy Tuesday!


The Avery Elle Loads of Wishes stamp set is one of my favourite sentiment sets. I love the mix of fonts. For my card today, I’m focusing on this set.

I began by stamping a sentiment in black versafine ink, then clear heat embossing it. I also stamped some of the heart images from the same set around the sentiment, heat embossing them in gold.


Next, I layered the MFT Radiating Rays stencil over the top of the panel. I inked on distress oxide inks in spun sugar and picked raspberry.

I then removed the stencil and trimmed down the panel at the sides, where the stencil didn’t reach. I added some more picked raspberry distress oxide ink to the edges to soften the lines, the flicked the panel with water droplets.


I used liquid glue to add the panel to a white card base. I then cut some thin strips of gold glitter paper, adding the, to the edges of the panel for a nice finish.


Thanks for joining me,
Gemma


Tuesday, 11 September 2018

Pawsome Day


Hello, Gemma here today, sharing a cute kitty shaker card.


I used the fabulous MFT Blueprints 31 and the Lawn Fawn Meow You Doin' stamp set to build the card. I die cut the largest rounded rectangle from pale blue card stock. Using the radiating rays stencil, I added versamark ink. Then I heat embossed the rays with clear sparkling embossing powder.


To add the shaker panel, I die cut from white card the circle panel to go across the card. The circle shaker pouches fit perfectly in the circle.

Before adding the sequins and shaker pouch to the card, I adhered some mice from the stamp set to the card base so they’d show behind the shaker. I thought it would be fun to include them in the shaker itself, but I didn’t want them to turn around the wrong way when shaken. This solved the problem and I love how they peek out from behind the sequins.


I then added the Meow You Doin' cats and a sentiment tag over the shaker window to finish.


Thanks for joining me today,
Gemma


Tuesday, 4 September 2018

Wishing Ewe


Today I’m sharing a fun window scene birthday card.


I began with a piece of white card cut to the same size as my card base. I scored some lines into the card to add interest, then die cut a rectangle window from it. The rectangle die I used is unfortunately out of stock, but the new Lawn Fawn Reverse Rectangle die set would be a lovely alternative.  

On the card base below, I used the MFT Radiating Rays stencil with some MFT cube dye inks to add a sunrise effect, which will show through the rectangle window. 


I stamped, coloured and die cut some images from the MFT Ewe and Me Forever stamp setI layered a grassy hill behind the window, with some of the flowers tucked behind that. I then adhered the panel onto my card base with foam tape.

I added the sheep next to the window scene, then a sentiment from the same set on a banner above. The Lawn Fawn Speech Bubble dies would work well here. 


I love the clean and simple look of this card, with the window scene adding a pop of colour.

Thanks for joining me today,
Gemma 


Wednesday, 2 May 2018

Birthday Bus

Hello, happy Wednesday! I have a bright and fun trio of birthday cards for you today featuring a mix of products from Avery Elle, Lawn Fawn and Neat & Tangled. Two of the cards are very similar, with the third mounted on a slightly different background.


Starting out with an A6 white card panel, I masked off the top half with some Post-It tape. I then blended on some Distress Oxide ink in Twisted Citroen and Mowed Lawn through the Neat & Tangled Tree Duo Stencil, keeping the layering light. I finished off with a light dusting of Broken China to give the slight impression of sky at the very top.

On another two A6 white top folding card bases, I masked off a wide band towards the top of the card. This time I blended on some Fossilised Amber and Squeezed Lemonade Distress Oxide Ink through the MFT Radiating Rays stencil, keeping the layers light and concentrating the darkest colour at the bottom centre.


I set these aside to dry and stamped out three of the buses and six of the clouds from the Avery Elle Birthday Bus set in some MFT Black Licorice Hybrid Ink. I coloured these in bright school colours with my alcohol markers and cut them out with the coordinating dies.

I cut the green panel down and used some craft foam to attach it to a card base. I then popped up the buses on some foam tape and adhered them to the background, adhering the clouds directly to the panels to make it look like exhaust fumes. I know from my experience, these type of buses aren't exactly environmentally friendly!


The sentiment included in the set wasn't long enough for what I needed so I pulled out the HAPPY BIRTHDAY from the Lawn Fawn Simply Sentiment set. On the sunrise backgrounds I stamped this above the scenes and below on the forest scene. I finished off with a little heart at the end of the sentiment using some Lawn Fawn Lobster Ink.


A fun set of cards that could be masculine or feminine, or given to an adult or a child. I think I like the forest background best - what's your favourite?

Thanks for reading, catch you next week.

Tallie


Sunday, 12 November 2017

Don't Get Your Tinsel in a Tangle

I both love and loath Christmas with equal measure - I love the idea of creating the full on "Martha Stewart" with home made and home baked everything in a house bedecked to perfection, but it never happens and by the 20th of December I am throwing shop bought tat at the problem in a messy house I've barely time to clean!   So this little penguin from Sugar Pea Designs all tangled in his Christmas light and the corresponding sentiment really sums up Christmas for me!


I stamped him on white card, coloured with copics and cut him out and did the same with the present on the iceberg.  I thought it would be fun to have him on a iceberg too so I drew one on vellum and traced the one for the parcel onto vellum too.

To create the scene I used a couple of stencils from MFT - the drifts and hills and radiating rays keeping my inks in blues and pale teals for that extra cold frosty feeling.  I used the hills to create the lake too and after inking in the colour used a slightly darker colour to drag a few lines down from the top edge to add depth.

I finished with a little sparkle on the icebergs and the sentiment in the corner.


NEWS FROM THE STORE

We still don't have a date for our move - we have a broadband engineer site visit on Friday and should hopefully have a better idea after that.

In terms of deliveries this week we are expecting:
  • Reverse Confetti
  • Neat and Tangled
  • Mama Elephant
  • Altenew
We have managed to grab some more lipstick pouches and dies from MFT and they will hopefully be here by the end of the week too.