Showing posts with label Avery Elle Pigment Inks. Show all posts

Monday, 30 October 2017

Winter Woolies

Hi there, Jenny here on this chilly Monday morning and I have just the right theme on my card today...


When it comes to winter birthdays you can sometimes stretch your Christmas stash 
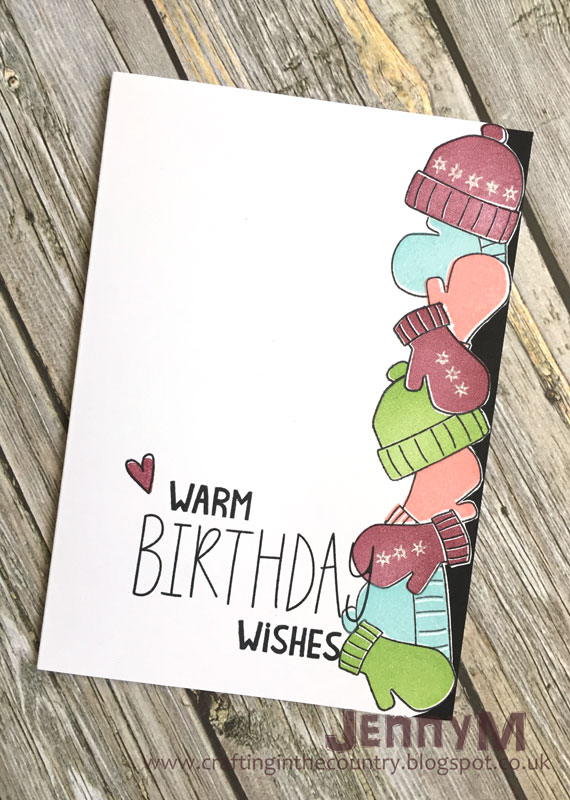
which I have done here using Wplus9's Holiday Cheer stamp set. 

I started by planning out on scrap paper which order I'd like to stamp my tumbling hat and glove border in, 
then used masks to stamp out the design on the edge of a card blank... leaving a small gap from the edge
 so I could trim around them to make a decorative edge 


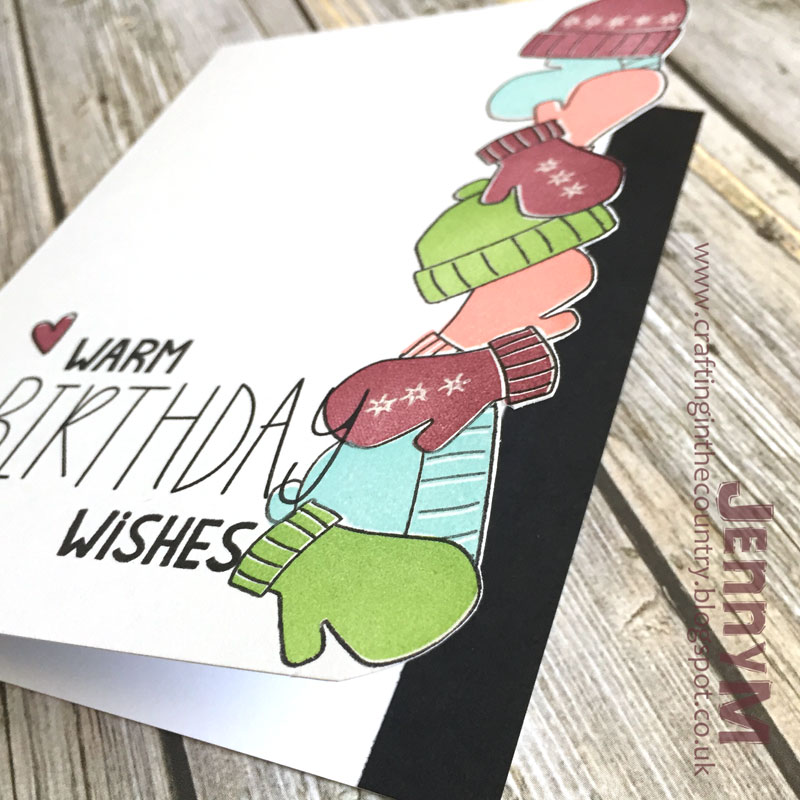
I used the solid images in the set and Pigment inks to add colour and I love how some are
 not quite lined up correctly... that touch of white adds to the design I think :)

This is a one layer card but you could easily stamp a few extra to pop up on foam pads or add dimension to the 
hats and gloves with embellishments instead. I added a strip of black card to the inside edge which
 highlights the decorative edge when the card is closed.


Thanks for stopping by :)
Jenny x

Monday, 13 March 2017

A Kitschy Recipe Book


Hi there, hope you all had a fab weekend :)

You know how I love to use my stamps for 'home style' projects.... well when
 I saw the Kitschy Kitchen stamp set from MFT I knew exactly what I wanted to use it for....


This is an A5 spiral bound journal I had lying around... I think it originally came from Paperchase,
but I felt it would make a great recipe/kitchen organiser journal so I set about planning out a design 
for the front cover on scrap paper. The coordinating die set for these stamps includes extras
 like a shelf and banana tree stand so I used them to cut a stencil in a piece of acetate to ink through.


I used Pigment inks for my stamping as they gave a crisper image on the Kraft cover which 
was quite porous on this book. For the yellow images I stamped the shapes in 
white pigment ink first and let it dry completely before over-stamping in yellow, this
 made the colour stand out better.


When all the stamping had dried completely I added colour to the decorative details and shading to the fruit with Prismacolour pencils. They show up a treat on the kraft as does the white pigment ink I used to stamp the labels on the storage jars :)


The inside of the journal contains lined, plain and grid paper so I thought I'd add 
some interest to a few random pages through the book with more stamping. I used the same
 pigment ink so it didn't bleed through the paper, here's a little montage of four of the designs ...


I love how you can hang the utensils along with the oven mitt at the top of the page or have them in a criss-cross border pattern down the edge of a page and with a bit of masking you can add spoons to bowls or even lemons and limes!!


I'm looking forward to using this book and I'll most probably be adding more decoration
 as I go with image and alphabet stamps too :)


Thanks for stopping by :)
Jenny x

Saturday, 16 January 2016

HelloHowAreYou?

Hello crafty friends! Julia here today, and I am so happy to be back here on the Seven Hills Crafts blog. I am tickled pink by our blog and store website, and I hope you are having fun exploring all the new features and getting your shopping done.

As to my card, I wanted to create something fun and bright for the occasion, and I went a bit crazy with all things Mama Elephant today.


I started out by placing my  front panel on my Letterpress which I love to use as a stamp positioner, and stamping my sentiment with a variety of pigment inks. By using different yet complimentary shades of ink I was able to stamp the letters right next to each other and still keep it legible.


After I was done stamping, I used the Landscape Trio die set to create the stitched border and cut the little extra clouds (from the scraps of the panel, I might add, I hate to waste paper).   I mounted the little clouds with  foam tape to the panel and tucked in some sequins for additional sparkle.


I colored the little critters from the Cosmic Stars set with Polychromos pencils and had my Scan 'n Cut machine fussy cut them because I don't have the matching dies, then tucked them underneath the cloud border and added a few highlights in gold with a gold mister.


Thanks  for stopping by today! I hope you got inspired and check out the new store website!