Hello everyone!
I'm back with another card. Today's project features Neat & Tangled Later Alligator stamp set along with simple watercolouring and ink blending.

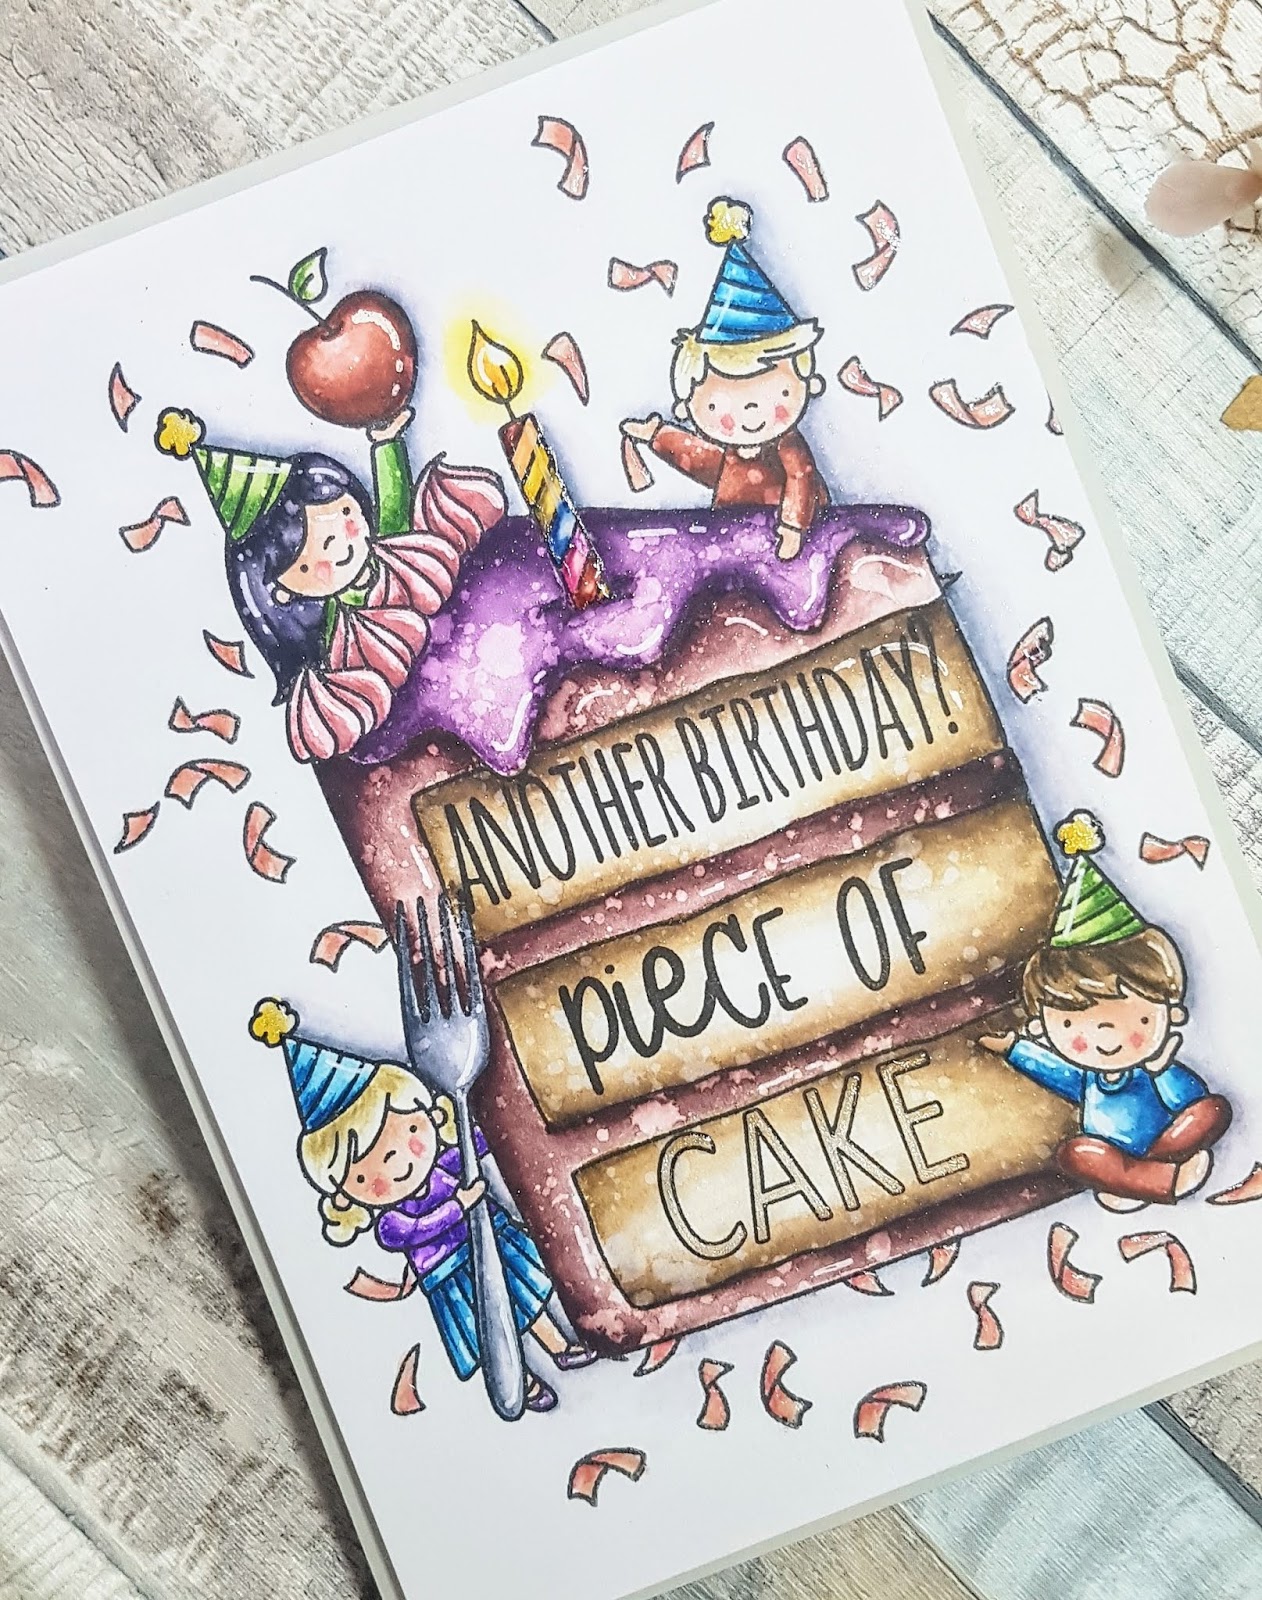
I started with stamping all chosen images on to piece of watercolour paper with waterproof black ink. After watercolouring, I fussy cut everything out and left on the side, while working on the background.

I decided to do simple ink blending on my background, using distress oxide ink and a blending tool. I masked off the top part of card panel with a piece of masking paper as I didn't want any unnecessary ink going there. I chose to leave the top portion of my card white, to give watercoloured images more attention. I also added water splatters.

Before attaching anything, I arranged my little scene to make sure that I was happy with the results.
I used foam squares to adhere all the images ( except the banner, where I used liquid glue ).
My last step was to stamps the sentiment from the same Later Alligator set with black ink and add a few blue and gold sequins.
I adhered the whole card panel to the slightly larger card base with crafts foam and double-sided tape.
That's all for this project! Thank you for stopping by.
Leave the comment below to let me know if you like this card.

See you soon! Anna