I do love a shaped card, and used to make loads when I first got my silhouette machine, but I don't always want to get that out these days, and for those who don't have one, I thought I would show how you can combine a few dies and with old fashioned scissors create a really fun shaped card.

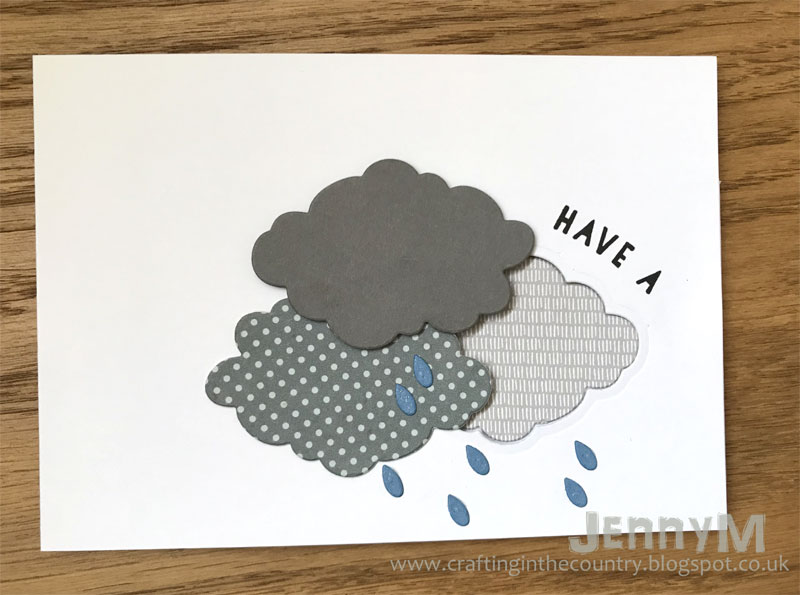
Here I have combined the new cloud shaker pouches and corresponding dies, with the MFT stitched rainbow and the Reverse Confetti My Sunshine stamp and die set to create a fun weather themed shaped card that stands up on it's own.
To create the card you need a sheet of thick card (I used 300gsm for my card bases) folded in half. You then arrange the dies on the card to get the shape you want and drawn around them making sure that one of the dies hangs over the fold line to get you a card that won't fall to pieces!

For the "solid" dies like the rainbow die, you draw around the outside but will then need to trim off the excess white space, so for the hollow dies like the cloud, draw around the inside line. This will mean the card is slightly smaller than your finished die cuts but that doesn't matter and gives a neater overall finish. Make sure all your dies overlap enough to not create a "floppy" finished card. Trim around the lines with scissors.
Next cut your die cuts - I used the waste white card from my base and just coloured the elements. For the sun I used distress oxides and for the rainbow I used copic markers. Start with the purple layer of the rainbow and build your way up. When you add your red layer, the fold line is covered and you get your full rainbow shape.

For the shaker element I drew around the pouch to get a layer I could seal my shaker elements into to cover up the rainbow bits. Adding a layer behind your shaker whilst it's upside down always makes it easier to get your element in place without covering yourself in glitter (trust me - I've done it the hard way!) I filled it with blue sequins and chunky glitter. The frame die from the set then covers up all the plastic edge for a professional finish (you could do it in silver for a silver lining cloud too which would be fun!) I stamped a sentiment from the Reverse Confetti My Sunshine set using oxide inks (they stamp soooooo well on solid stamps!) and then layered all my sun elements up to finish the card which stands up great on it's own despite the complex shape.

Hope that's inspired you to try something different. Why not take a look through your die collection with new eyes and see what else you could use to make a shaped card?


NEWS FROM THE STORE
That's all from me today - lots of cards to make so I'm heading the craft room before lunch.
Tara

Here I have combined the new cloud shaker pouches and corresponding dies, with the MFT stitched rainbow and the Reverse Confetti My Sunshine stamp and die set to create a fun weather themed shaped card that stands up on it's own.
To create the card you need a sheet of thick card (I used 300gsm for my card bases) folded in half. You then arrange the dies on the card to get the shape you want and drawn around them making sure that one of the dies hangs over the fold line to get you a card that won't fall to pieces!

For the "solid" dies like the rainbow die, you draw around the outside but will then need to trim off the excess white space, so for the hollow dies like the cloud, draw around the inside line. This will mean the card is slightly smaller than your finished die cuts but that doesn't matter and gives a neater overall finish. Make sure all your dies overlap enough to not create a "floppy" finished card. Trim around the lines with scissors.
Next cut your die cuts - I used the waste white card from my base and just coloured the elements. For the sun I used distress oxides and for the rainbow I used copic markers. Start with the purple layer of the rainbow and build your way up. When you add your red layer, the fold line is covered and you get your full rainbow shape.

For the shaker element I drew around the pouch to get a layer I could seal my shaker elements into to cover up the rainbow bits. Adding a layer behind your shaker whilst it's upside down always makes it easier to get your element in place without covering yourself in glitter (trust me - I've done it the hard way!) I filled it with blue sequins and chunky glitter. The frame die from the set then covers up all the plastic edge for a professional finish (you could do it in silver for a silver lining cloud too which would be fun!) I stamped a sentiment from the Reverse Confetti My Sunshine set using oxide inks (they stamp soooooo well on solid stamps!) and then layered all my sun elements up to finish the card which stands up great on it's own despite the complex shape.

Hope that's inspired you to try something different. Why not take a look through your die collection with new eyes and see what else you could use to make a shaped card?


NEWS FROM THE STORE
- We've received the new Waffle Flower release and will do our best to get it in store asap this week.
- Neat and Tangled shipped on Friday so there is a chance that will be in store before the end of the week.
- The next arrival will be Mama Elephant on the 15th
- We've ordered the new release from Concord and 9th which is another super-strong release but it never ships to us before the 9th when they release it state-side. We'll get it online as soon as we receive it but don't know yet when it will ship.
- We are still waiting to hear from Lawn Fawn when our mega-restock order will ship but hope it will be soon.
That's all from me today - lots of cards to make so I'm heading the craft room before lunch.
Tara